Clay Planters
Our local greenhouse is a place my kids and I love to visit, especially in the last days of winter and beginning of spring to remind ourselves what it looks and feels like to be surrounded by the beauty of growing vegetation. We especially love picking out plants for our kitchen window and to give for all the upcoming spring events, like Mother’s Day, Easter, and teacher gifts. This winter we started experimenting with clay together. Though I am by no measure an expert sculptor, I did spend many hours creating things out of Sculpey with my childhood best friend, so introducing it to my son and daughter felt like a rite of passage. These clay pots are a sweet way to make the beautiful gift of a plant a bit more personal for someone special in your life.
Materials
White Oven Bake Clay (we use Sculpey)
Parchment or Wax Paper
Cutting Tool (Exacto Knife or similar)
Small Rolling Pin
Found Objects to make patterns (we used objects found in nature, shells, pine cones, rocks, acorns, etc.)
Set up your work space by covering it with parchment or wax paper. Make sure your hands, table, and tools are all very clean because the white clay picks up and shows dust and dirt very easily. Soften the clay with your hands and knead until workable. Roll out one ball into a disc about ¼’’ thick, this will be the bottom of your pot. Trim to desired size and cut out a drainage hole in the center with your knife.
Roll out a larger piece to same thickness and make side walls that will fit entirely around your bottom circle. You may use a straight edge or a template to trim all the sides, if you’d like to be precise; Working with little ones, I am much less concerned with perfection! I actually prefer the more organic free form shapes that happen this way.
Once your side wall is rolled out and trimmed to size, take your found objects and see what patterns you can make with them by pressing into the clay. You can always practice on scrap pieces beforehand to get an idea of what will happen. We were happily surprised when the tip of a pinecone created a rosette shape!
When you are done adding the pattern and texture, piece the wall and bottom circle together by pressing the clay together on the inside and bottom where the seams meet.
Another way of forming the pots which is much simpler and more organic is to mold the shape from one single ball of clay and trim and press objects after the pot is formed. For younger children this is sometimes a better method and the one my son preferred.
Bake according to package directions, let cool, and add plants!
Cyanotpes
We love making things in our house and with two little ones afoot I’m always looking for ways to include them in the process. Whether it’s assisting me or making something alongside me we have fun learning new skills together and are often (happily) surprised at the results.
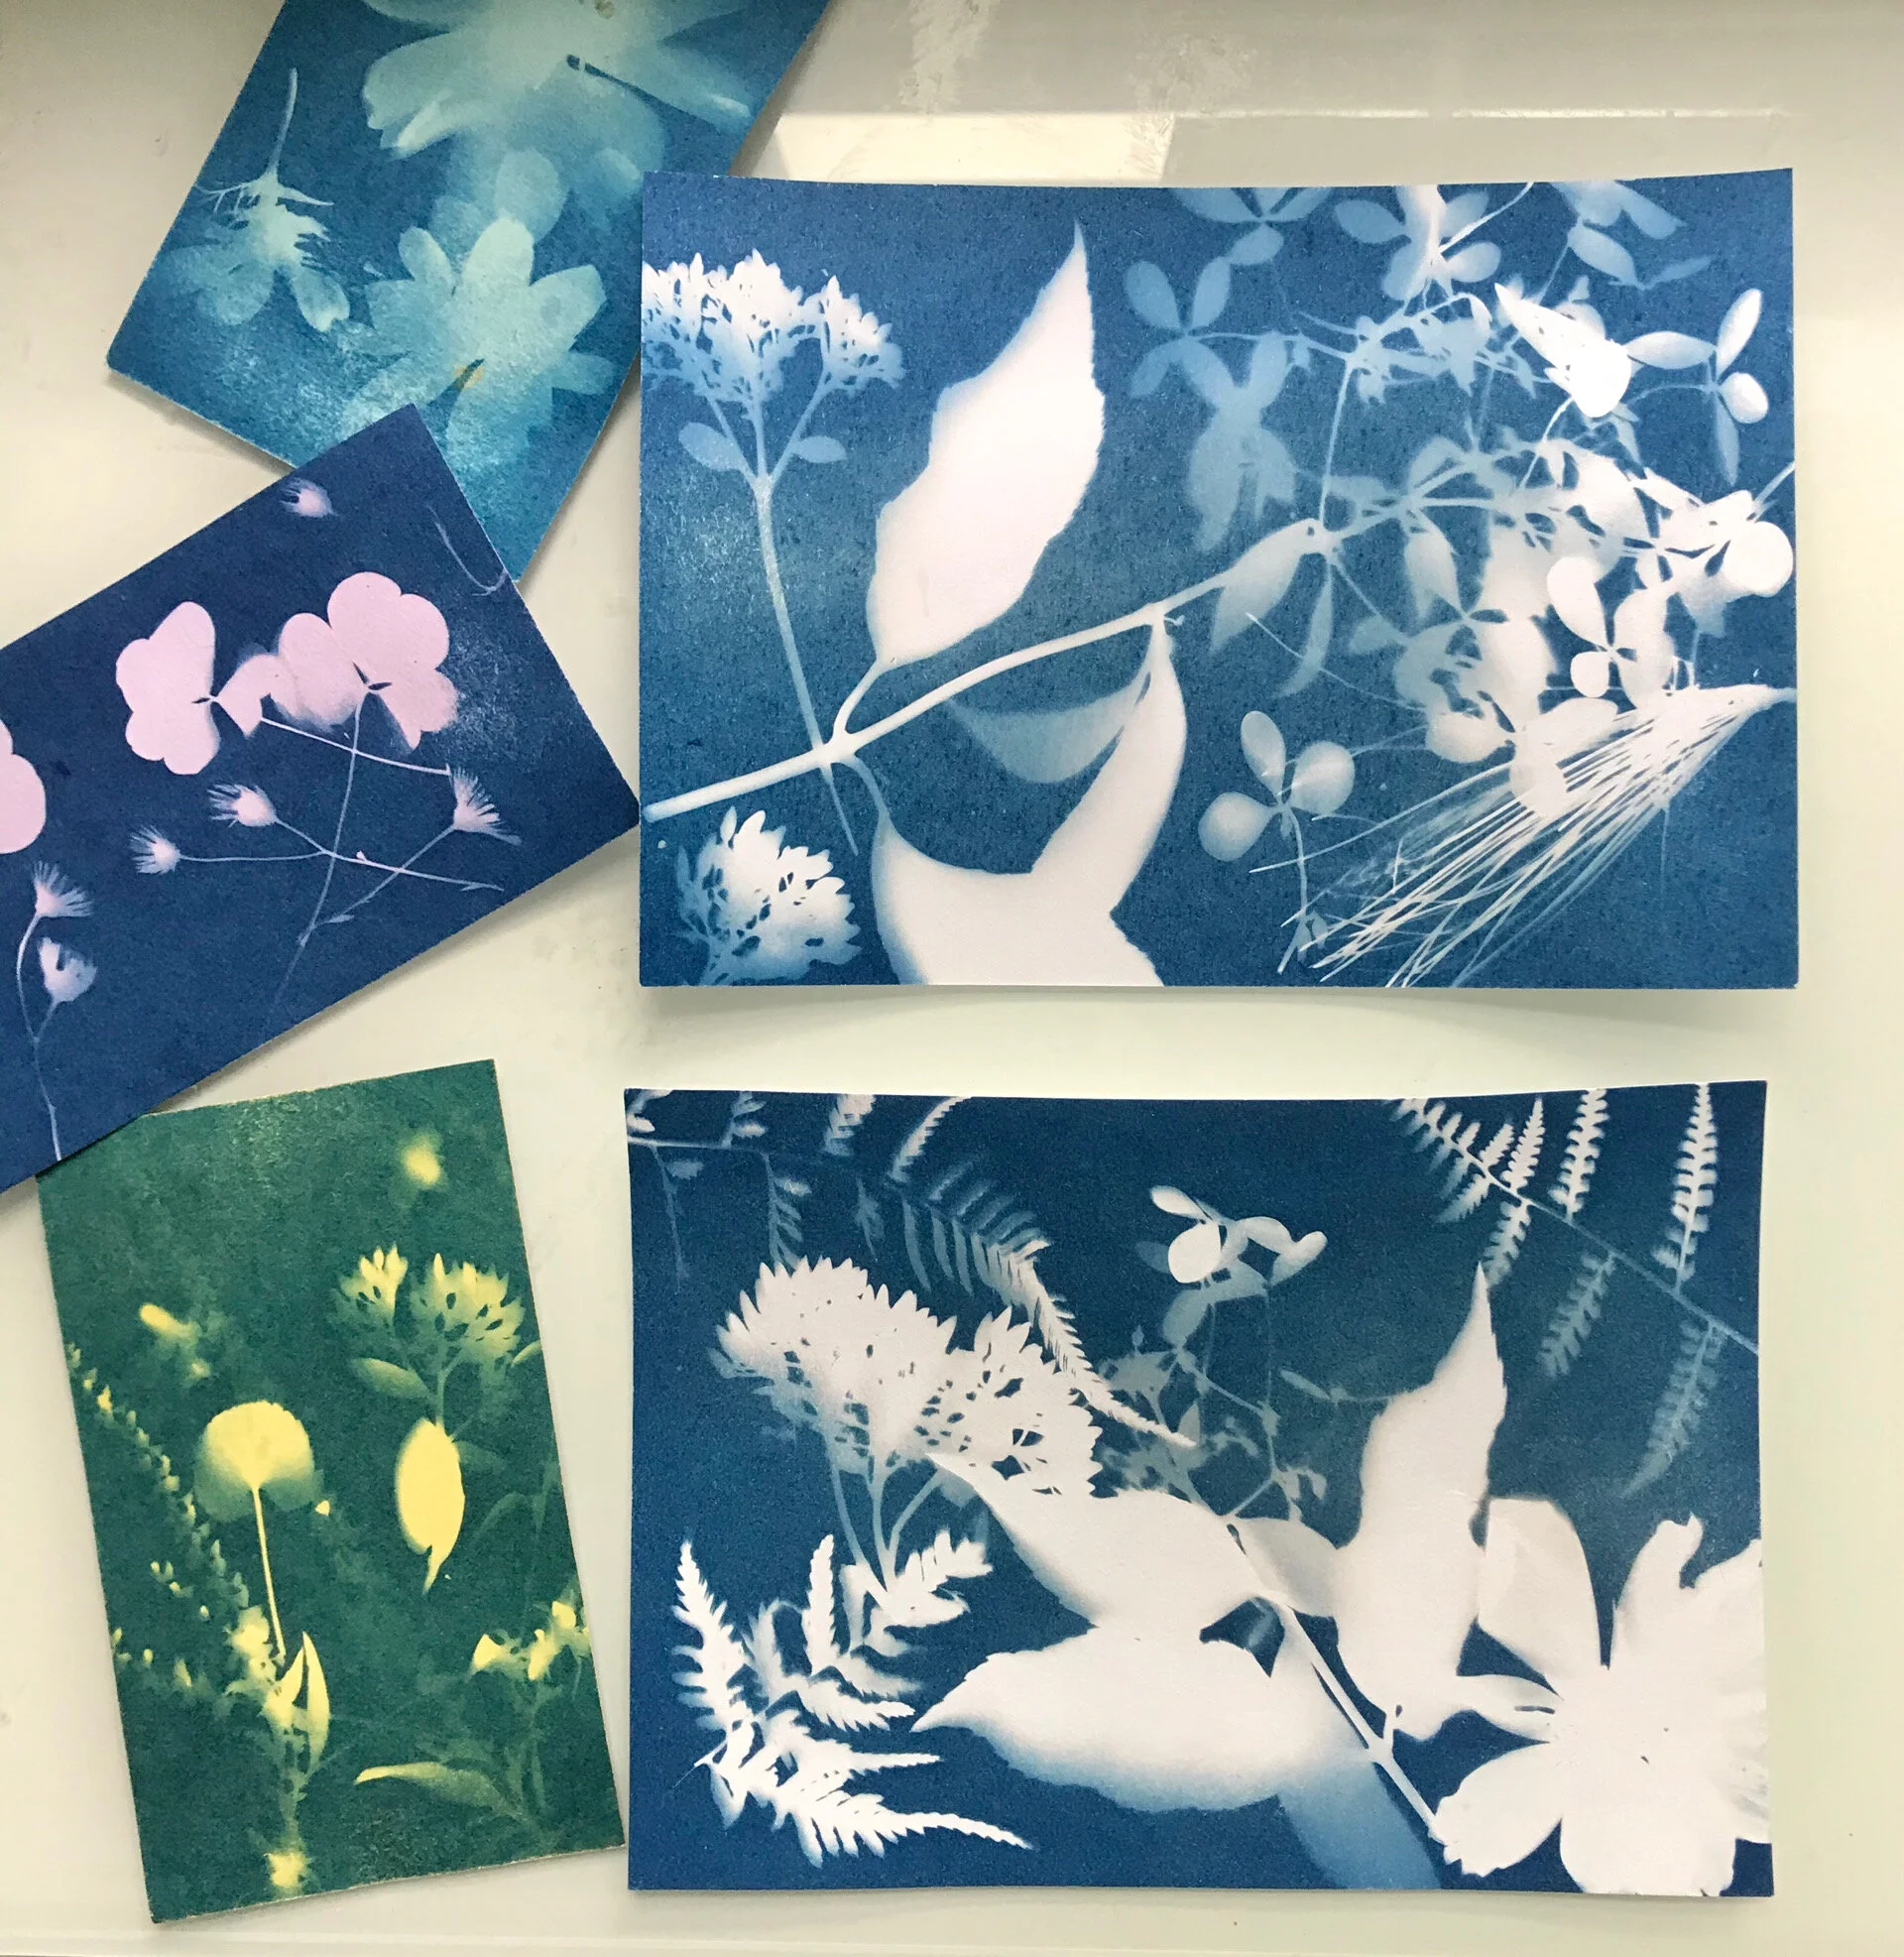
Cyanotypes are simply solar powered photographs, making these with children is fun, easy and has gorgeous gift worthy results. Search your yard or nature collection for objects that you think would make interesting shapes on the paper when exposed to sunlight and then let the experimenting begin! Expose in sunlight and when the time is up rinse in cold water. That’s it! Ours were from Case for Making but can easily be found at many local and online art stores.
The Great Halloween Hunt
Last year on Halloween the world felt upside down and when planning for a fun holiday with the kids as an alternative to trick-or-treating (since we had no idea what things would be like at that point) I came up with a scavenger hunt for the neighborhood kids both big and small. Everyone paraded around the streets in full costume looking for the things on their lists and collecting treats from us along the way. Though it was certainly not your traditional Halloween we had enough fun to keep it as a tradition going forward for this year, hopefully along with collecting candy from our neighbors!
Beeswax Candles
Winter has arrived. As a person who much prefers sunshine, swimming, and summer nights, it can be tough for me to thrive in the long dark days of the season. A few years ago, I decided to try my best to embrace this time of year by making our home as cozy as possible and I began using candles at the dinner table every night, instead of saving them only for special occasions. Our young son looked forward to the ritual of lighting them nightly and the warm glow cast on those chilly nights seemed to slow down our evenings in the best possible way.
We decided to gift our family with beeswax candles to brighten up their own homes. We use only natural beeswax, as many other candle waxes contain toxic chemicals. In contrast, beeswax actually helps to clean the air as it burns -- besides having the most amazing smell.
Materials (all easily available online):
Beeswax Sheets
Cotton Wick
Colored Beeswax Strips
Scissors
Cut your Beeswax Sheet in half either vertically or horizontally depending on whether you want a taper or pillar size candle. Measure and cut the wick to about half an inch longer than the sheet.
Line the wick up with the edge of the sheet and tightly roll over the sting and press firmly so the wick is secure. Pressing lightly, continue rolling sheet until you reach the end and then press the edge together to form the seam.
Break off small pieces of the colored wax and begin to make shapes that can be adhered to the outside of your rolled candle. We made a loose mock up of what we wanted our design to look like on tissue paper before placing on our candles. This is where you can get creative! We kept it simple with a few shapes -- round, heart, and teardrop -- and then made a very loose pattern by gently pressing into the sides of the candles.
There is a lot of forgiveness in decorating a cylinder as you can’t see all sides at once!
We hope this inspires you to add a little glow to your winter nights!
Natural Dyes
I started experimenting with natural dyes this summer thinking, how fun! Use my food scraps and flowers to make dye, so easy! Which is hilarious because by now I should know better. An “easy” project often turns into something much more time consuming than I ever imagined. But some processes are worth wading through the trial and error to settle on a routine that works and provides great results. A little effort really does go a long way.
Start saving those avocado pits and skins.
I used a book by Rebecca Desnos and it proved to be absolutely necessary in learning the process of making botanical dyes. Click the link below to check out her beautiful website if you think you might want to delve into the world of natural dyes!
Printmaking
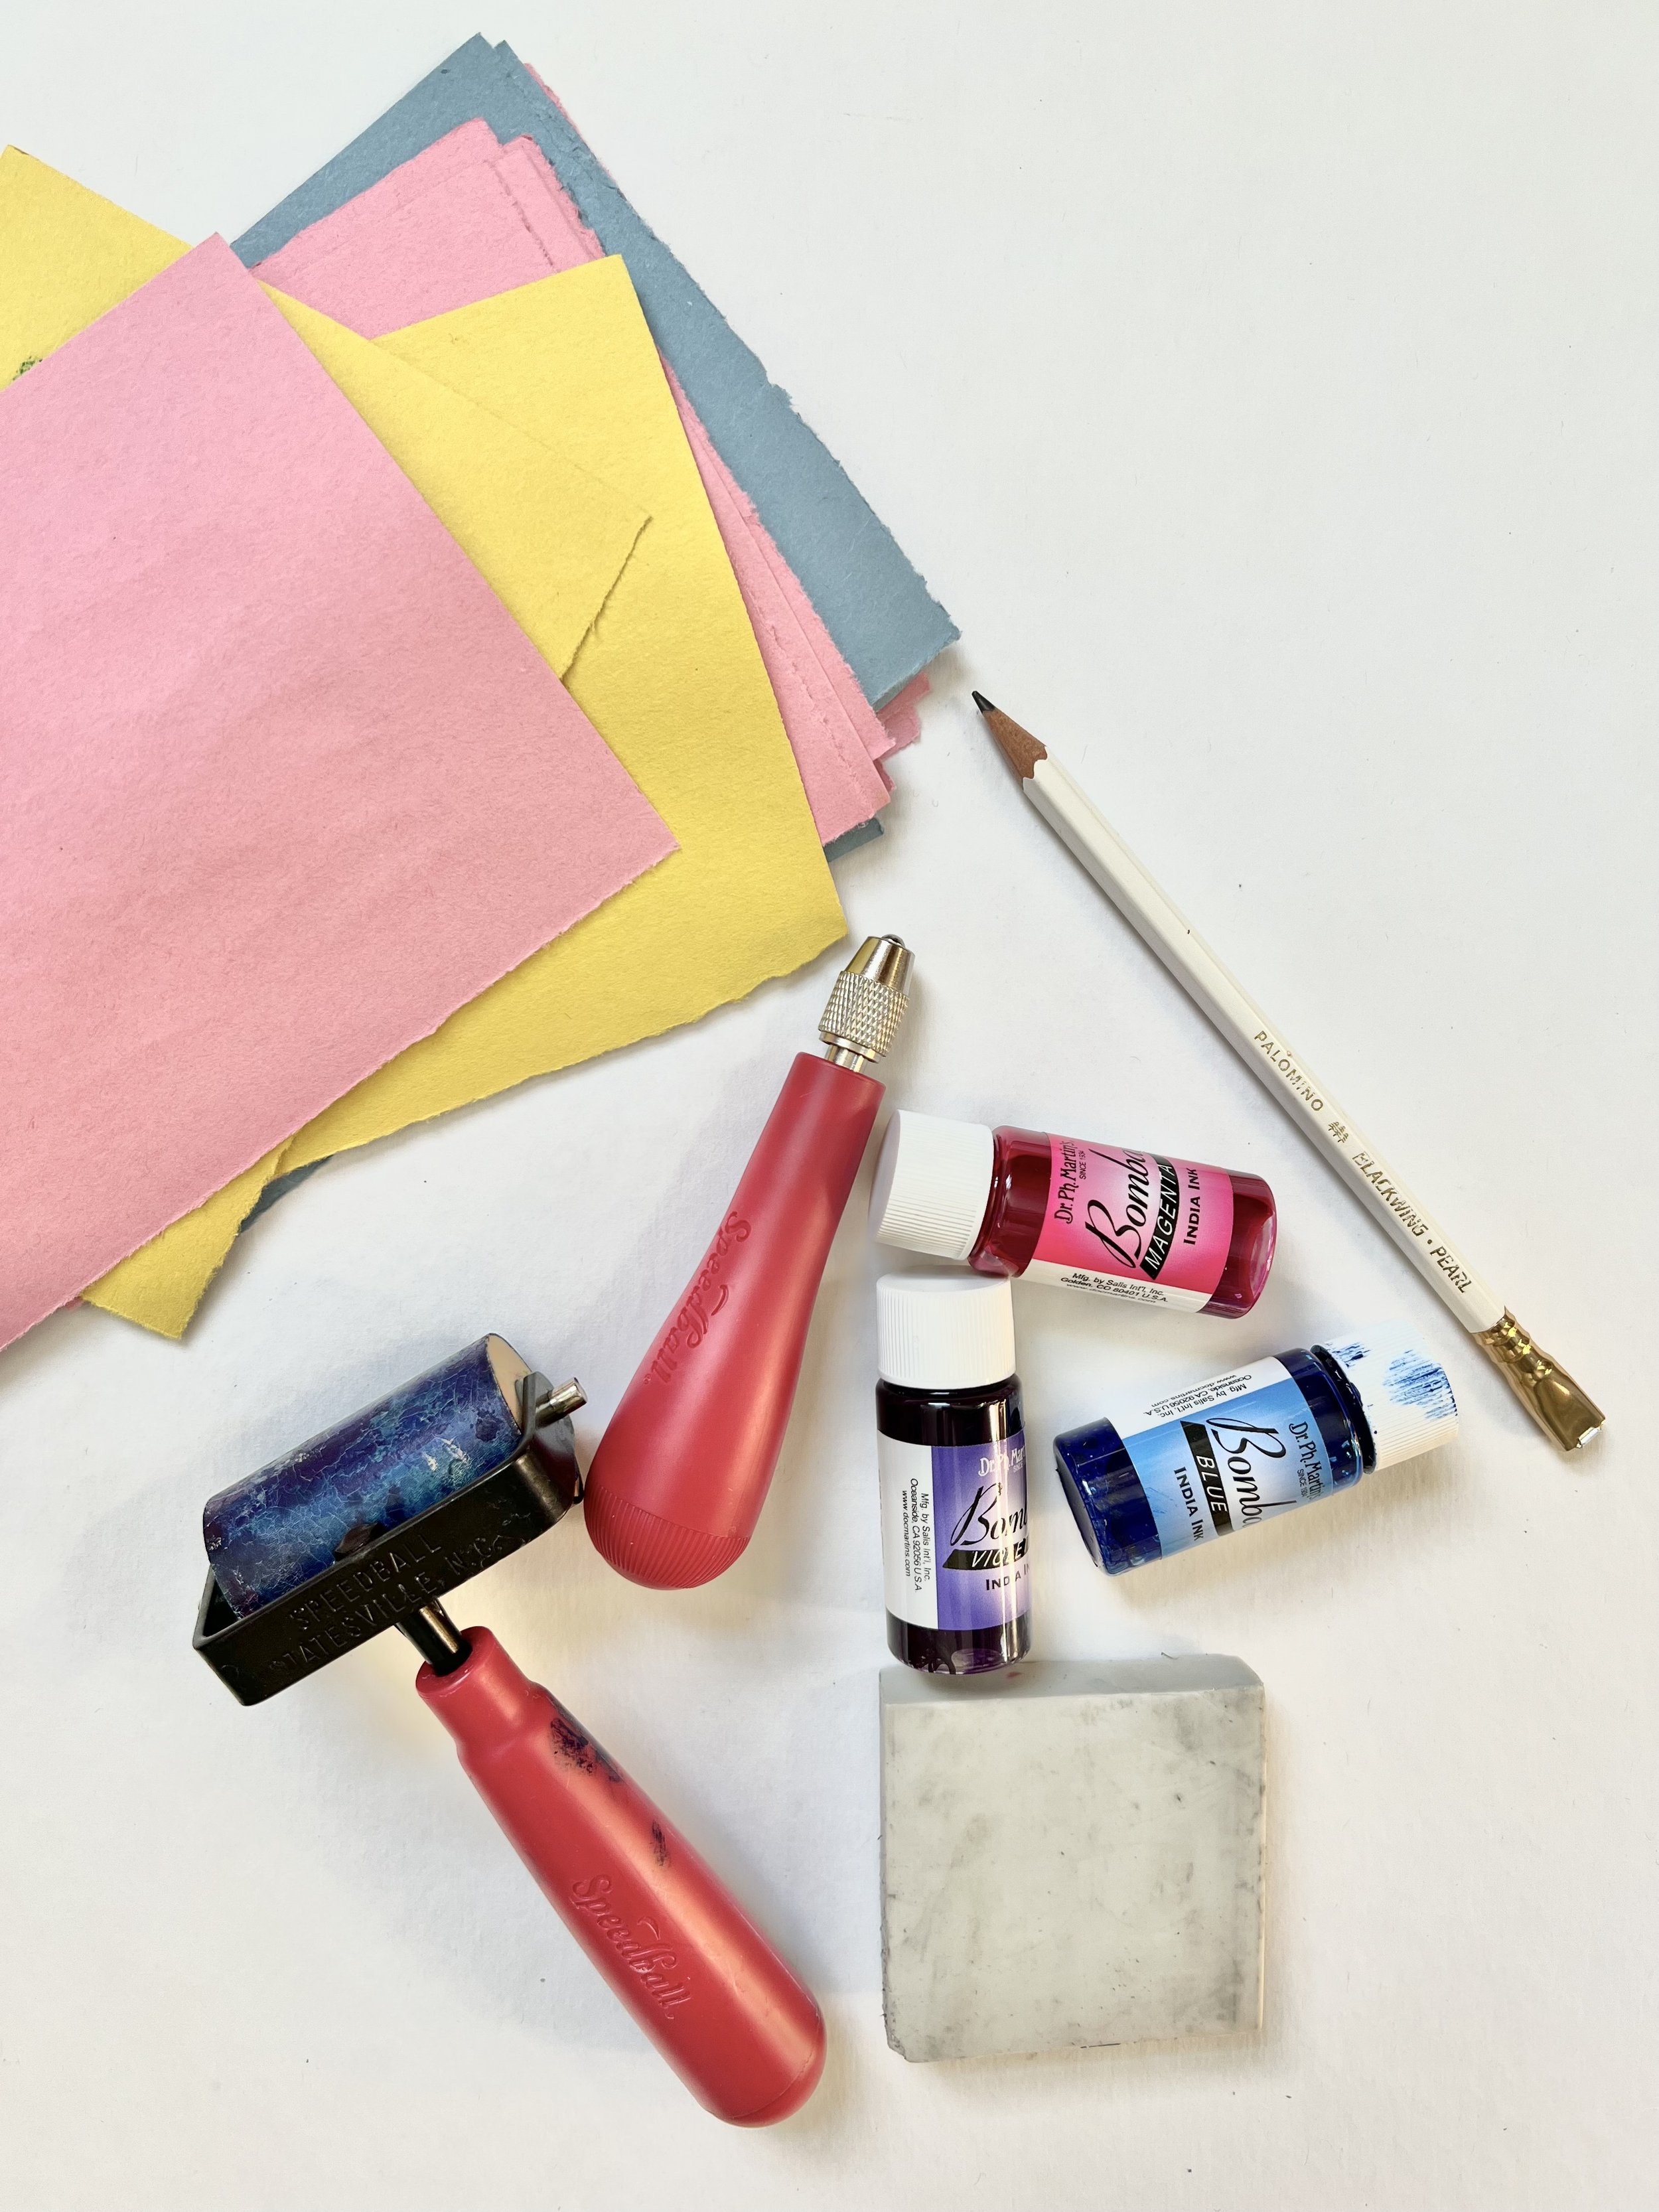
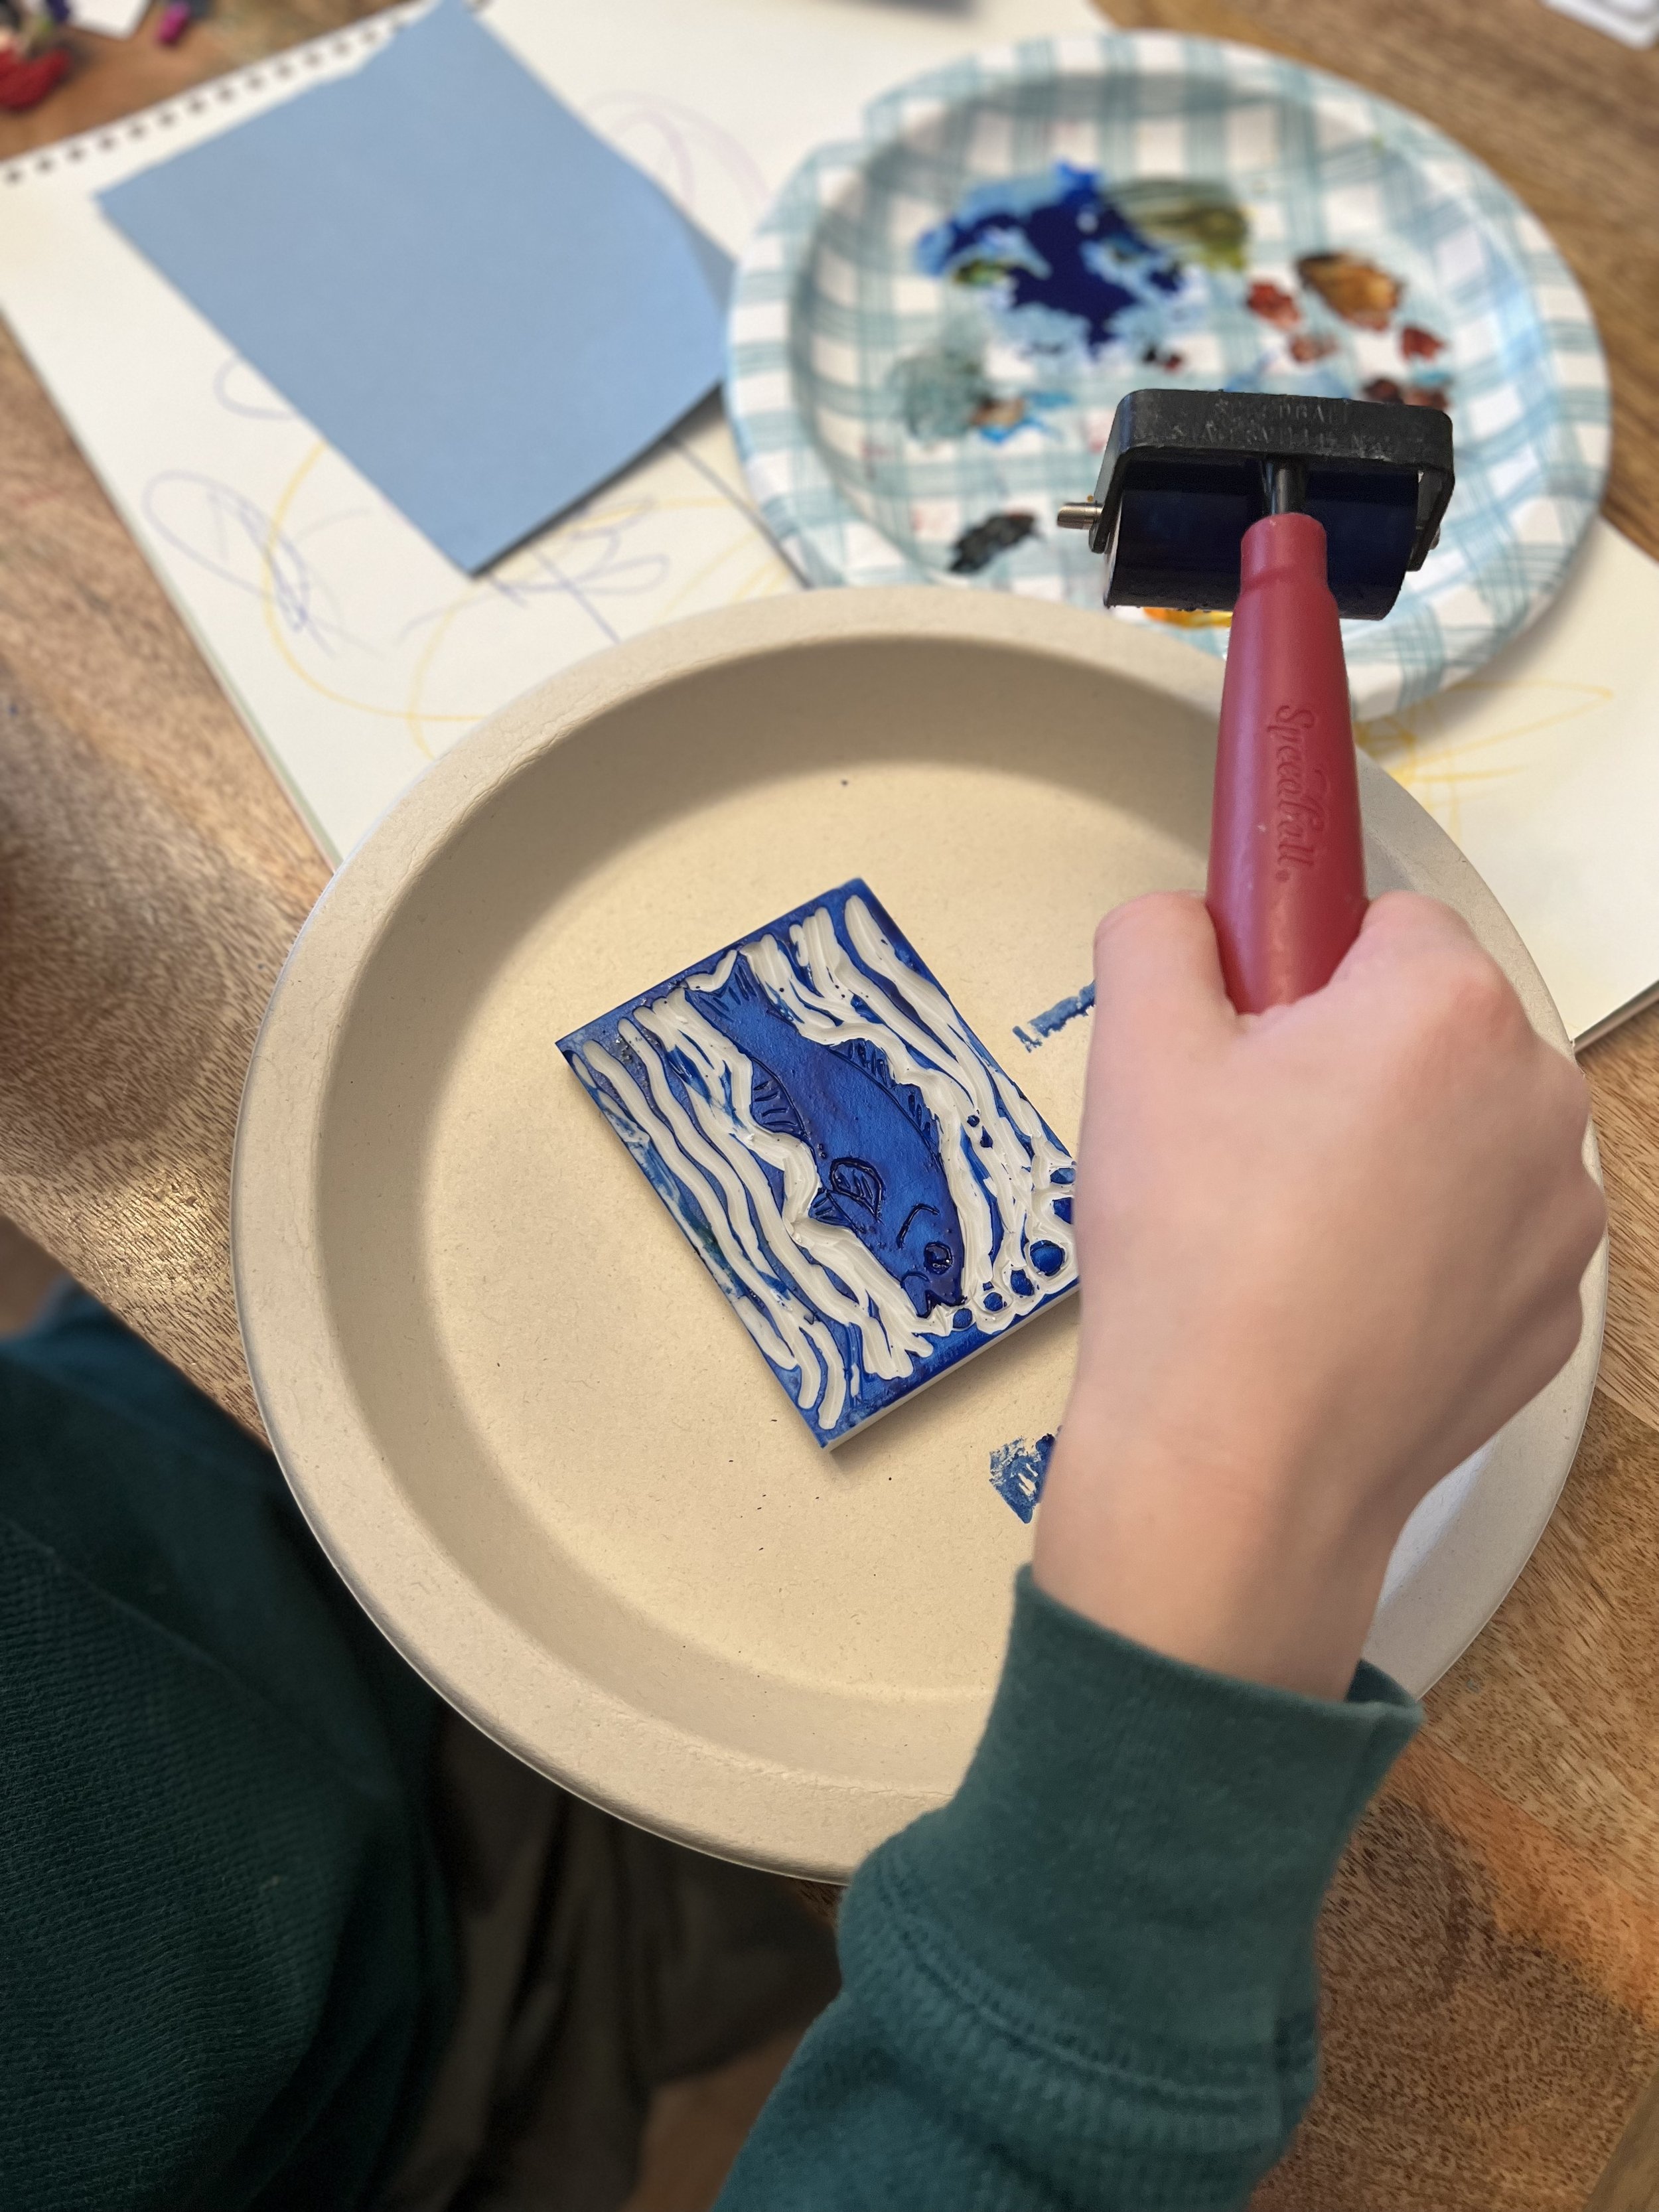
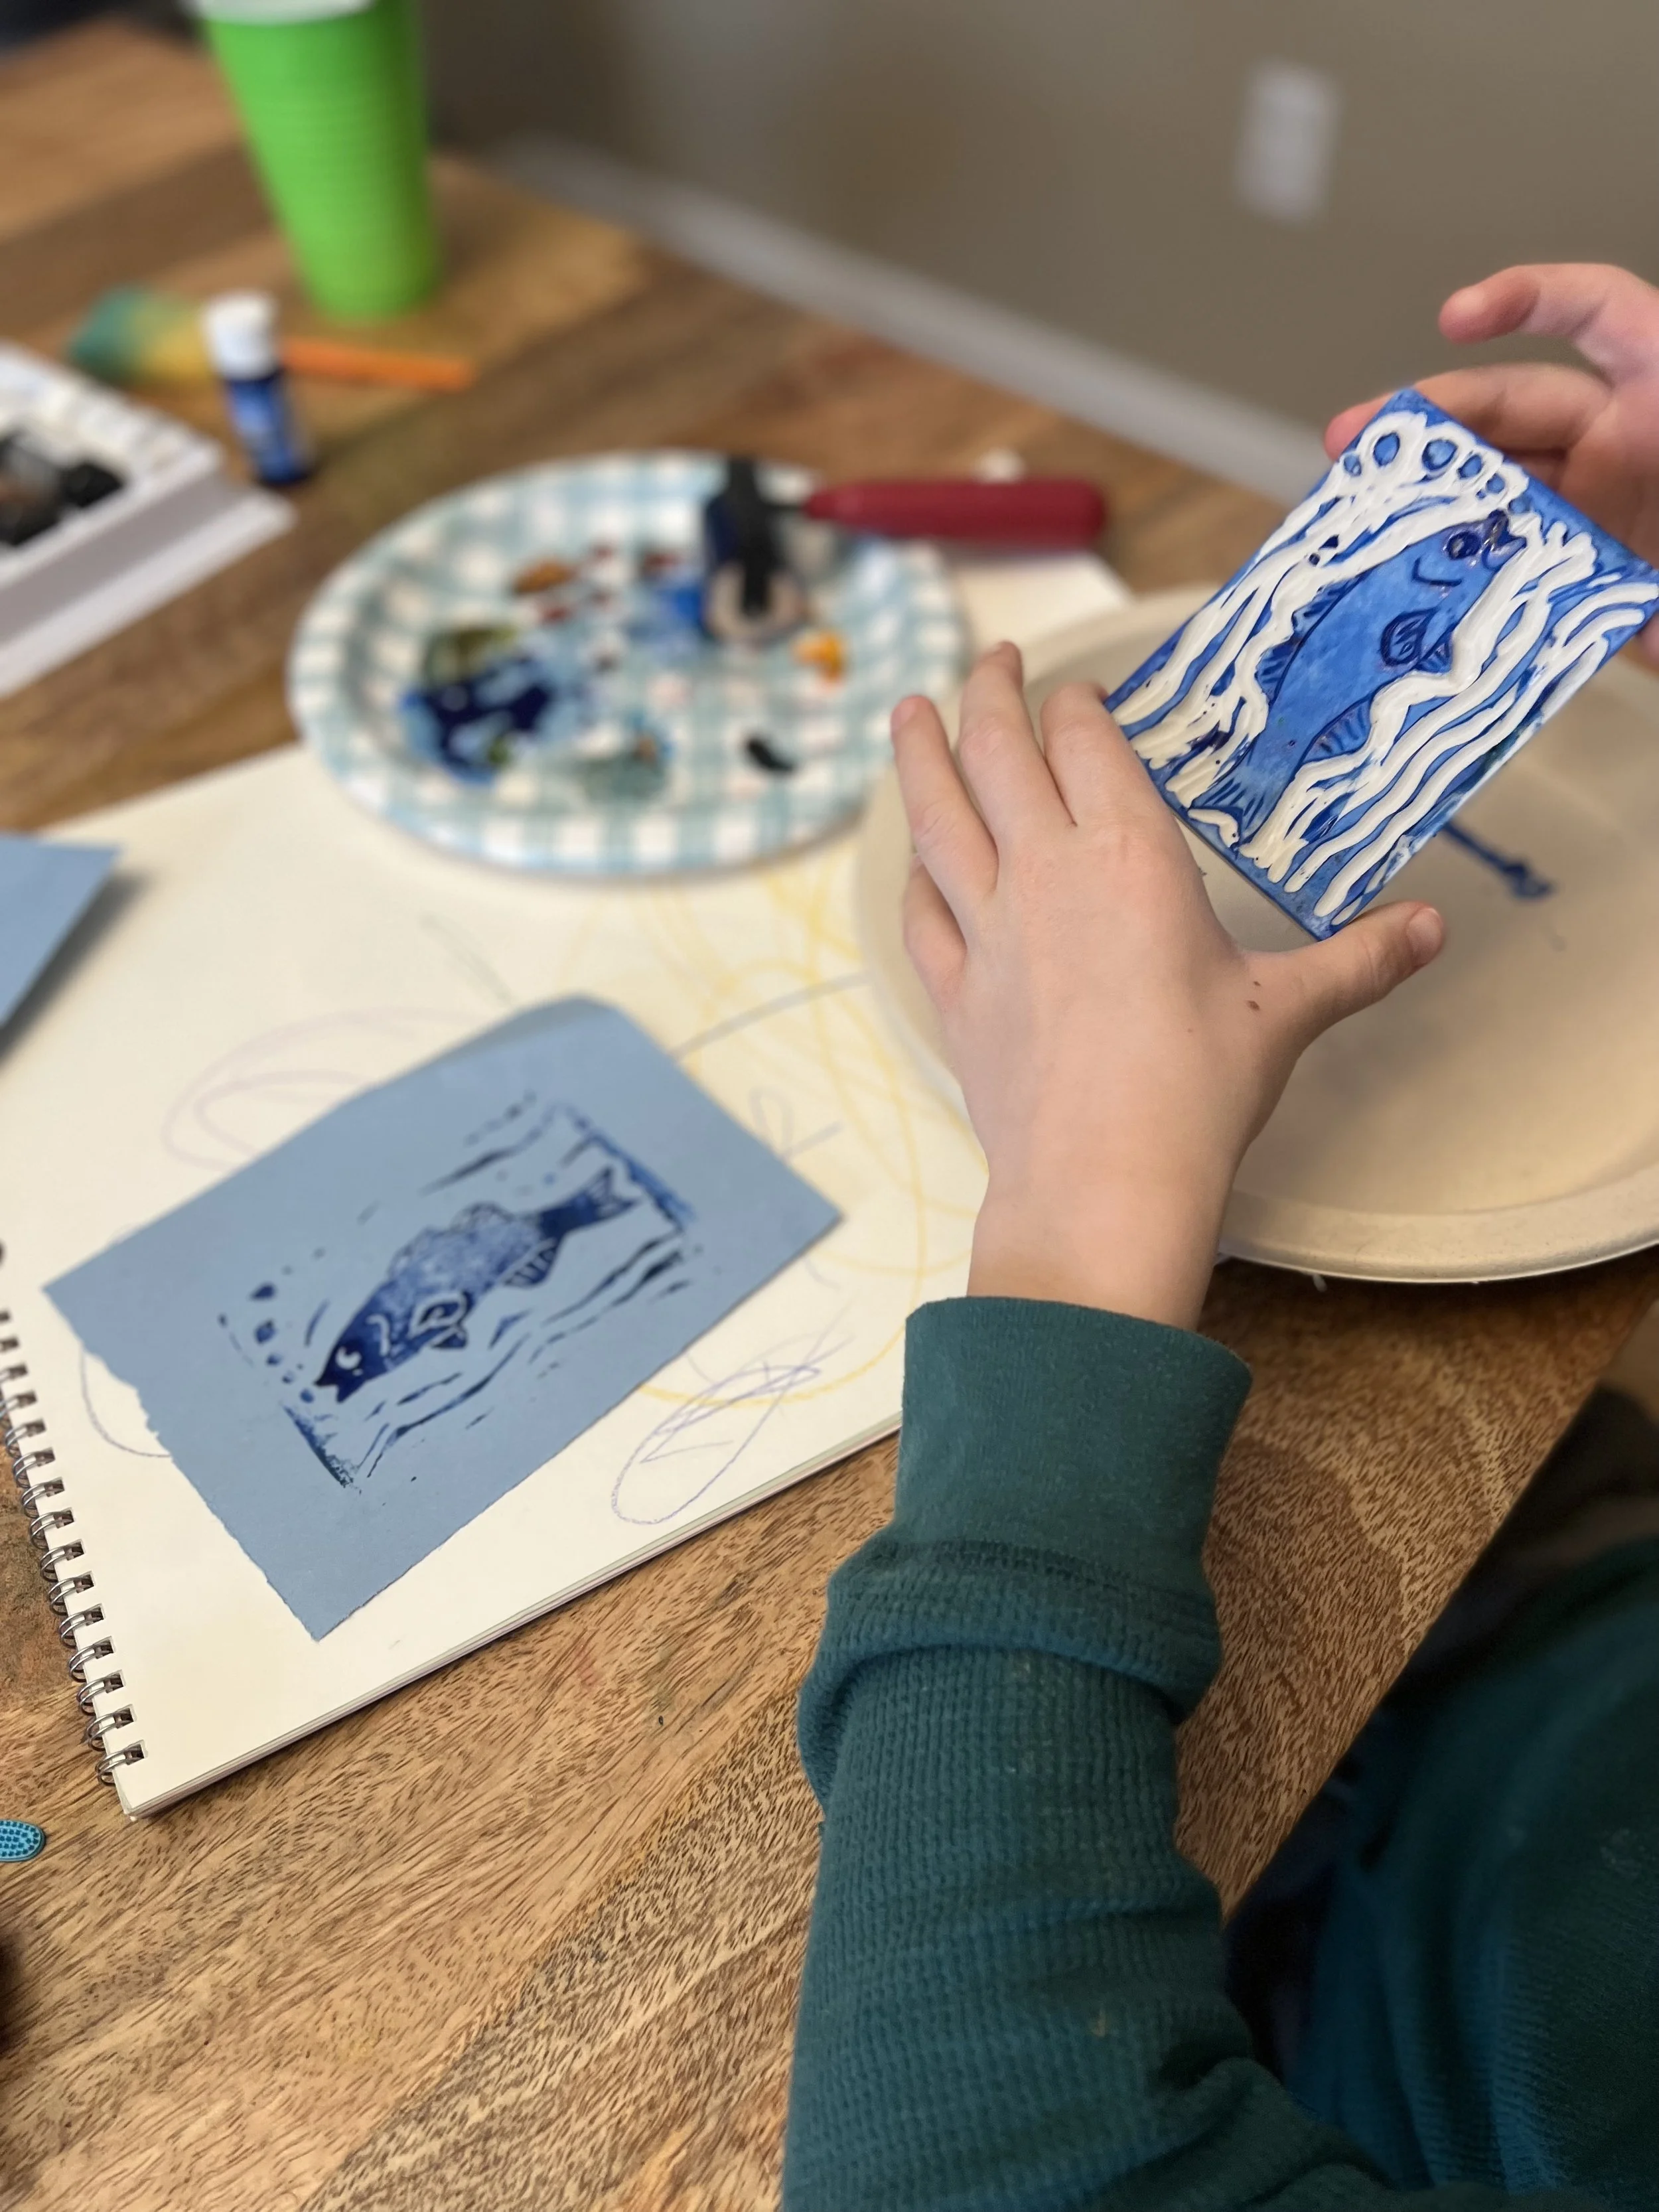
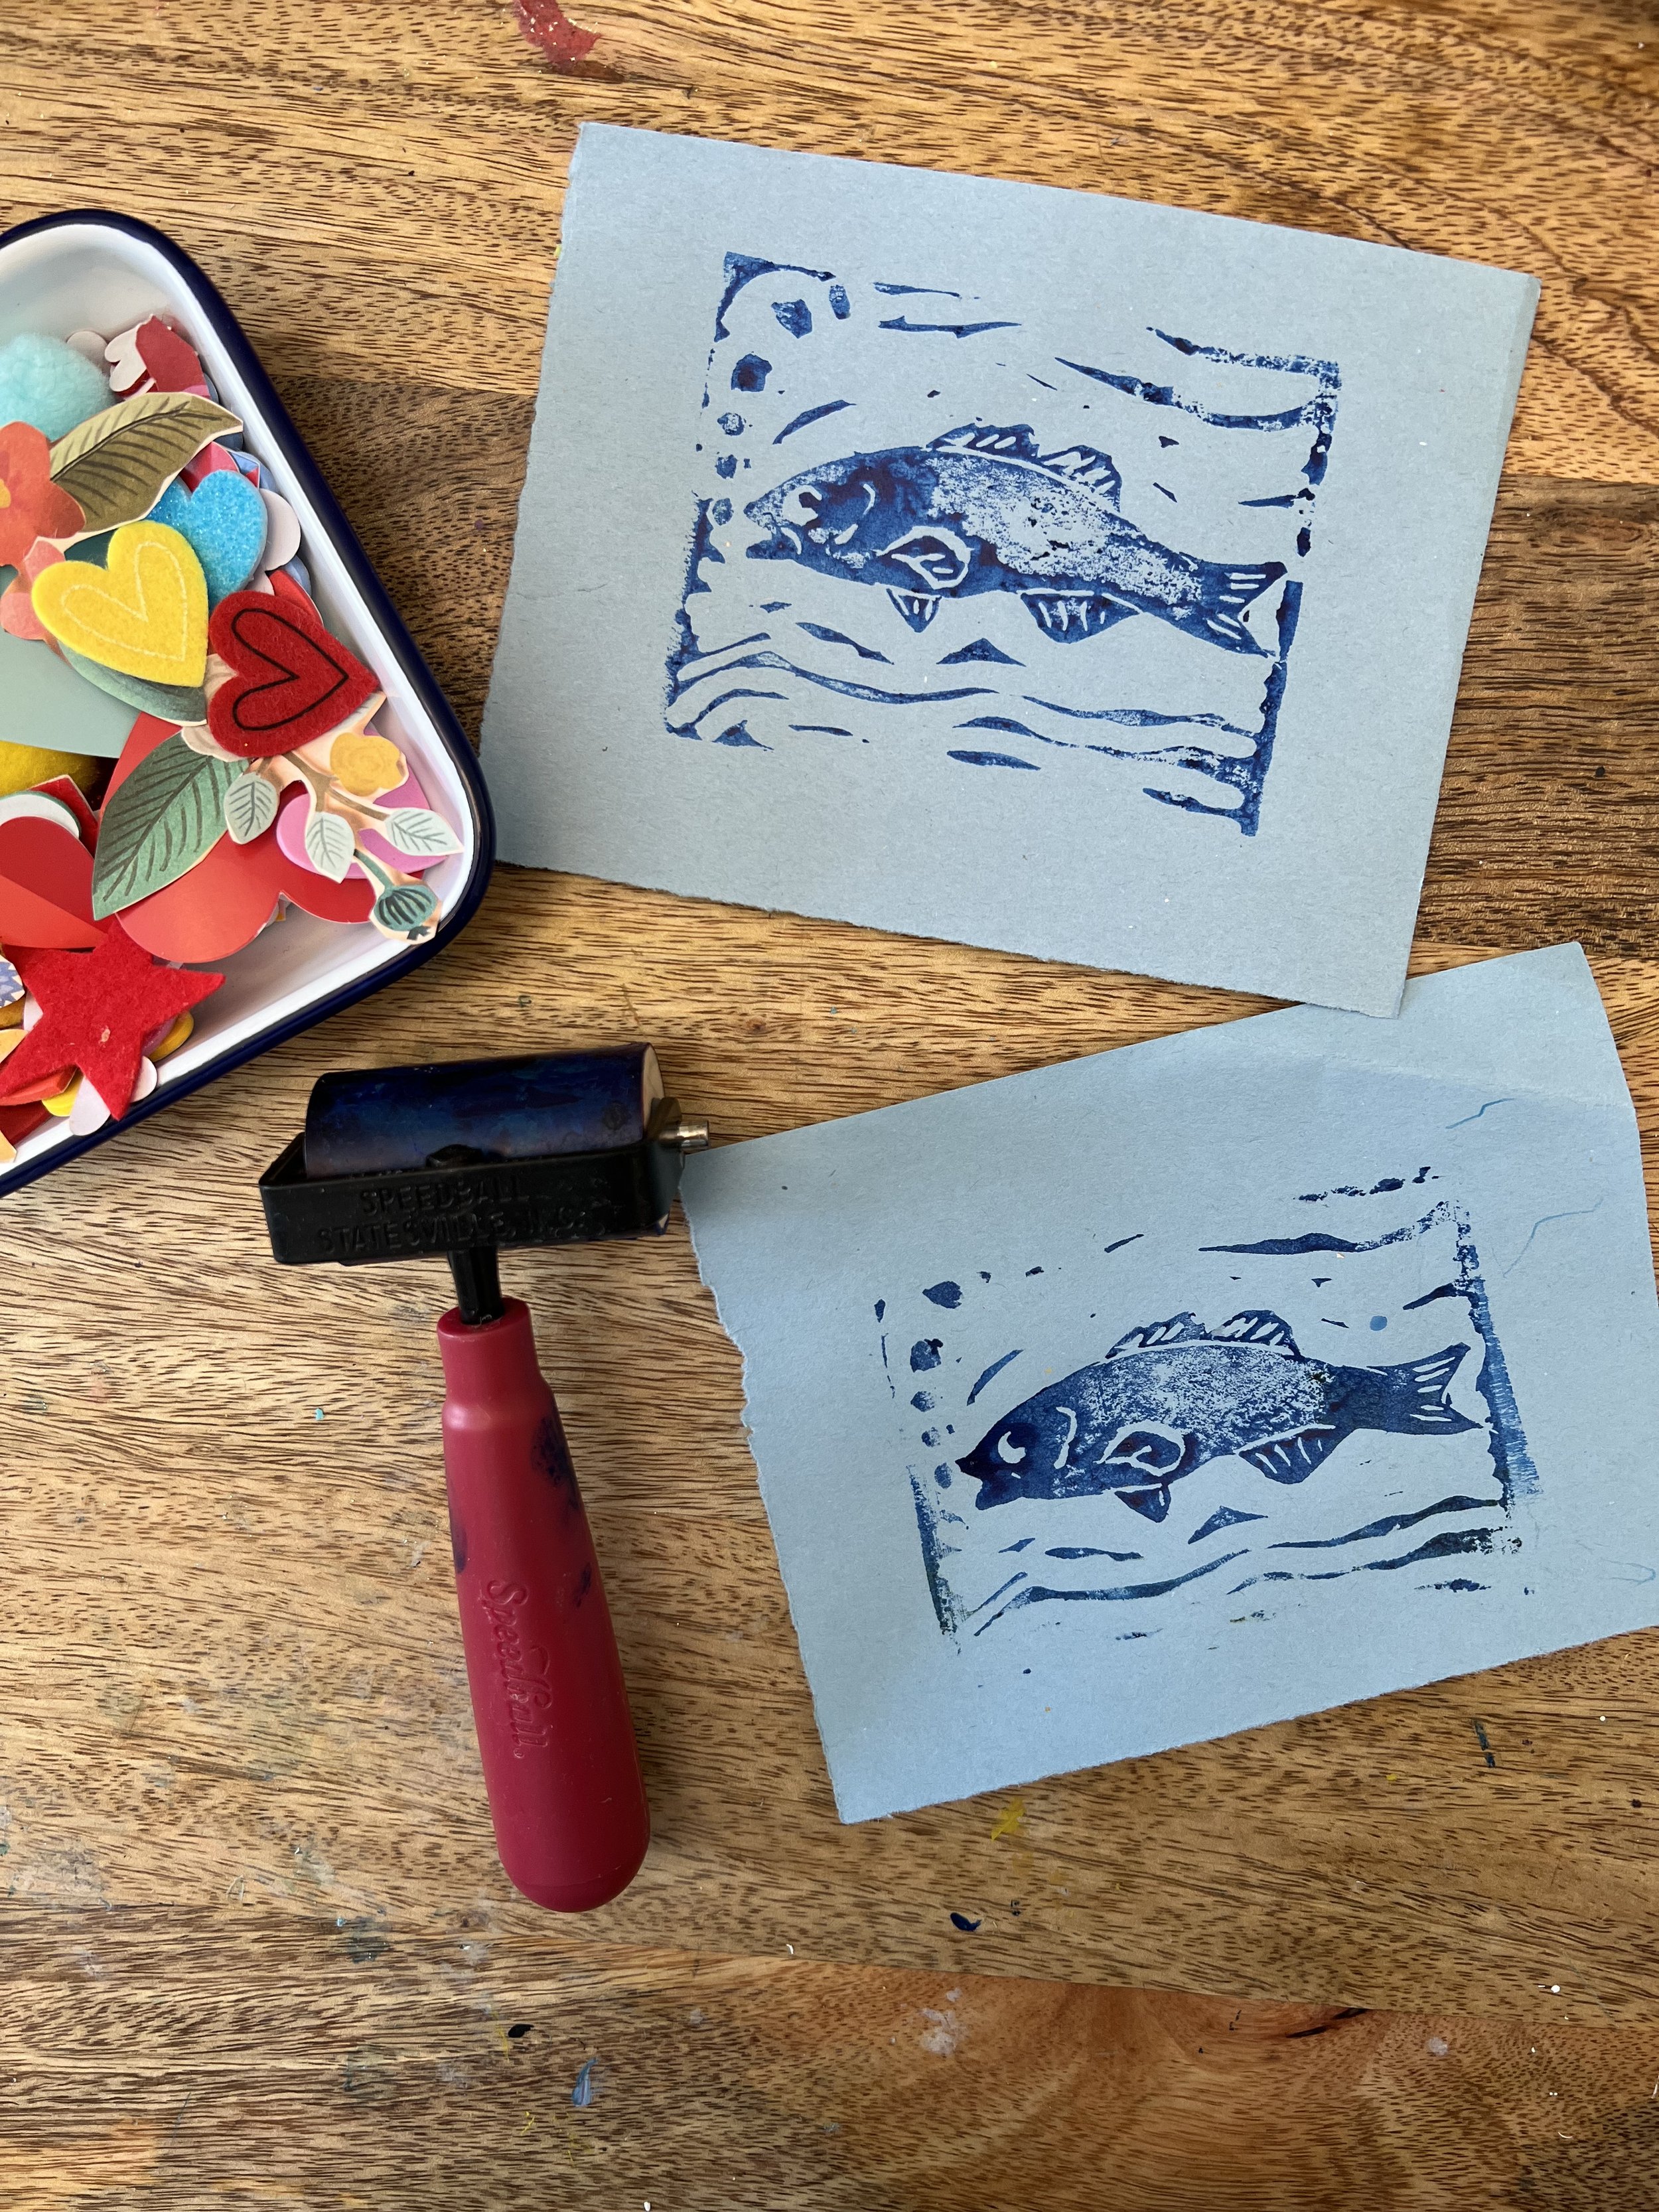
In college I studied printmaking because I loved the idea of making multiples of an image. In a way democratizing the art making process, prints make art affordable for all and growing up was certainly the only way I was able to purchase any artwork. At home I do not have a printing press but there are many ways of making prints without one. A favorite which I shared with my son this past winter is rubber stamps and we made an image to use for his valentines.


